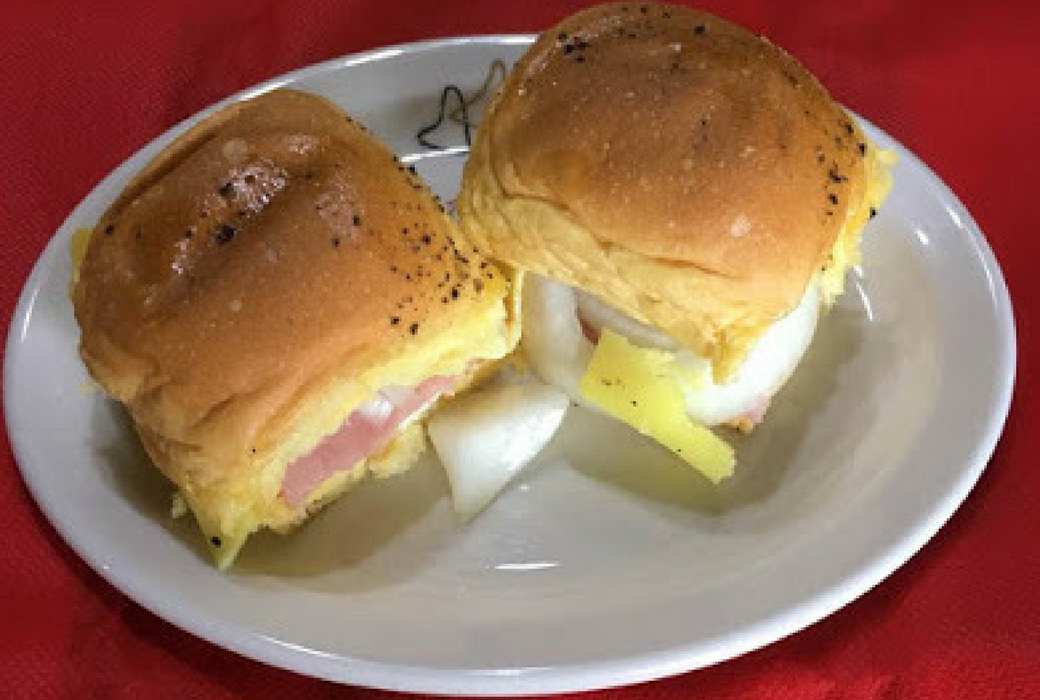
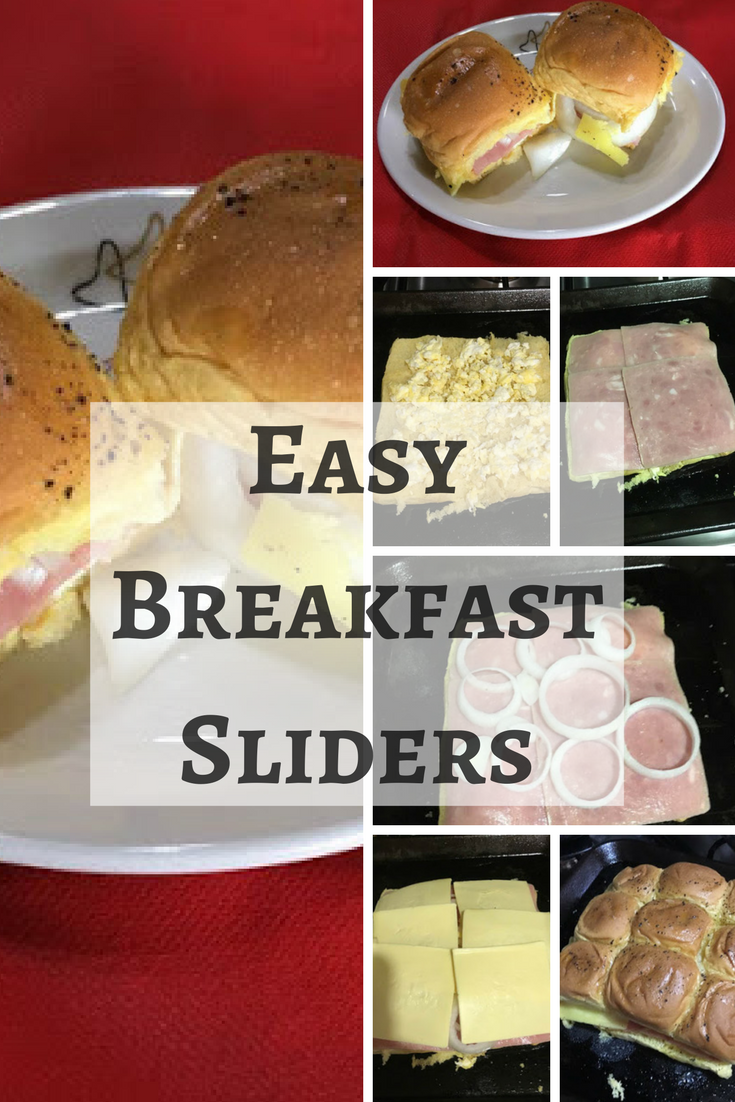
Easy Breakfast Sliders are filled with ham, egg, cheese and onions stuffed between mini rolls. They are baked in the oven until warm and golden and make a hearty and filling breakfast that will feed a hungry family.
 This is just a simple breakfast sliders recipe. An interesting trivia before I continue. I was eating breakfast in a fastfood joint and there was a couple beside me. The guy was explaining stuff to the girl. He was doing all the talking while the girl was just listening. Because the guy was talking so loud, I couldn’t help but overhear everything. My favorite part was when the guy was explaining the importance of breakfast, why it was the most important meal for the day. He goes like this: Why is this called breakfast? Because you are breaking fast, your last meal being dinner and then you slept. Makes sense? Very authoritative explanation of breakfast? Hahaha! Breakfast is breaking fast – I was hoping for a better explanation. So now I apply this statement to my wife and kids, with a very knowledgeable and authoritative approach. I will start with, according to my research….
Ok, let’s go back to the recipe. This Breakfast Sliders recipe is very easy as all you need are scrambled eggs, ham slices, onions, cheese slices, melted butter and pepper. Plain and simple! Try this at home and your family will love this. The pictures are almost self explanatory too.
Ingredients
- 1 pack Marby mini dinner rolls
- 4 eggs, scrambled
- ham slices, enough to cover dinner rolls (I used 4)
- 1 large onion, sliced into rings
- cheese slices, enough to cover dinner rolls (I used 6)
- 1 TBSP melted butter
- Pepper, to taste
Instructions
- Slice dinner rolls in half horizontally.
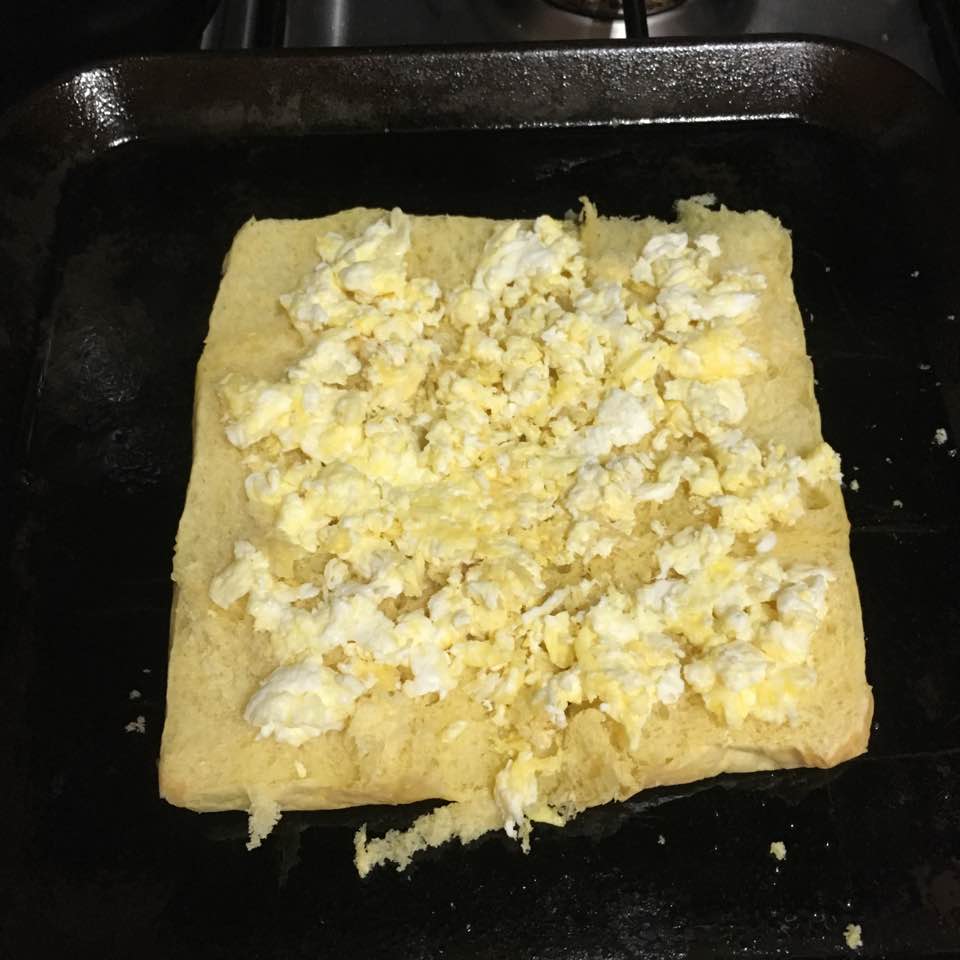
- Spread the scrambled eggs on the bottom half of the dinner rolls.
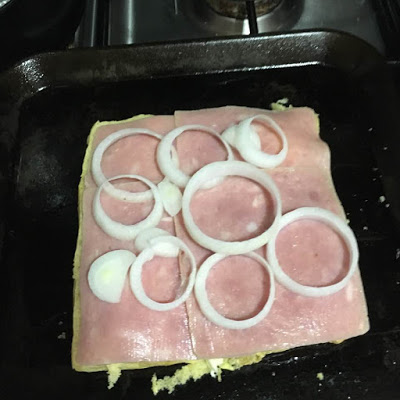
- Add ham slices.

- Add sliced onions on top, distribute evenly.
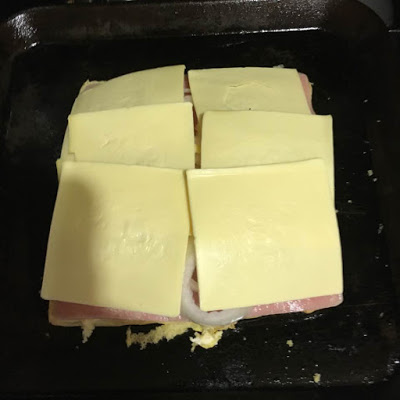
- Cover with Cheddar cheese slices.
- Cover with the top part of the dinner rolls and pour melted butter, sprinkle pepper.
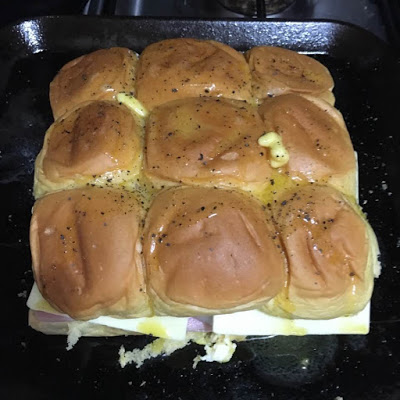
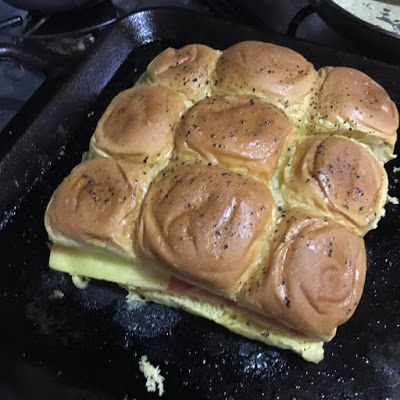
- Bake at 375 deg F for 20 minutes.
- Slice and serve hot.
BREAKFAST SLIDERS
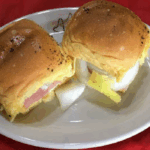
Breakfast Sliders. An interesting breakfast consisting of eggs, ham and cheese. A good start to your day. Similar to ham and cheese sliders.
- 1 pack Marby mini dinner rolls
- 4 pcs eggs (scrambled)
- ham slices (enough to cover dinner rolls (I used 4))
- 1 pc onion (large, sliced into rings)
- cheese slices (enough to cover dinner rolls (I used 6))
- 1 tbsp butter (melted)
- pepper (to taste)
-
Slice dinner rolls in half horizontally.
- Spread the scrambled eggs on the bottom half of the dinner rolls.

- Add ham slices.

- Add sliced onions on top, distribute evenly.

- Cover with Cheddar cheese slices.

-
Cover with the top part of the dinner rolls and pour melted butter, sprinkle pepper.

-
Bake at 375 deg F for 20 minutes.
- Slice and serve hot.

Other recipes HERE.