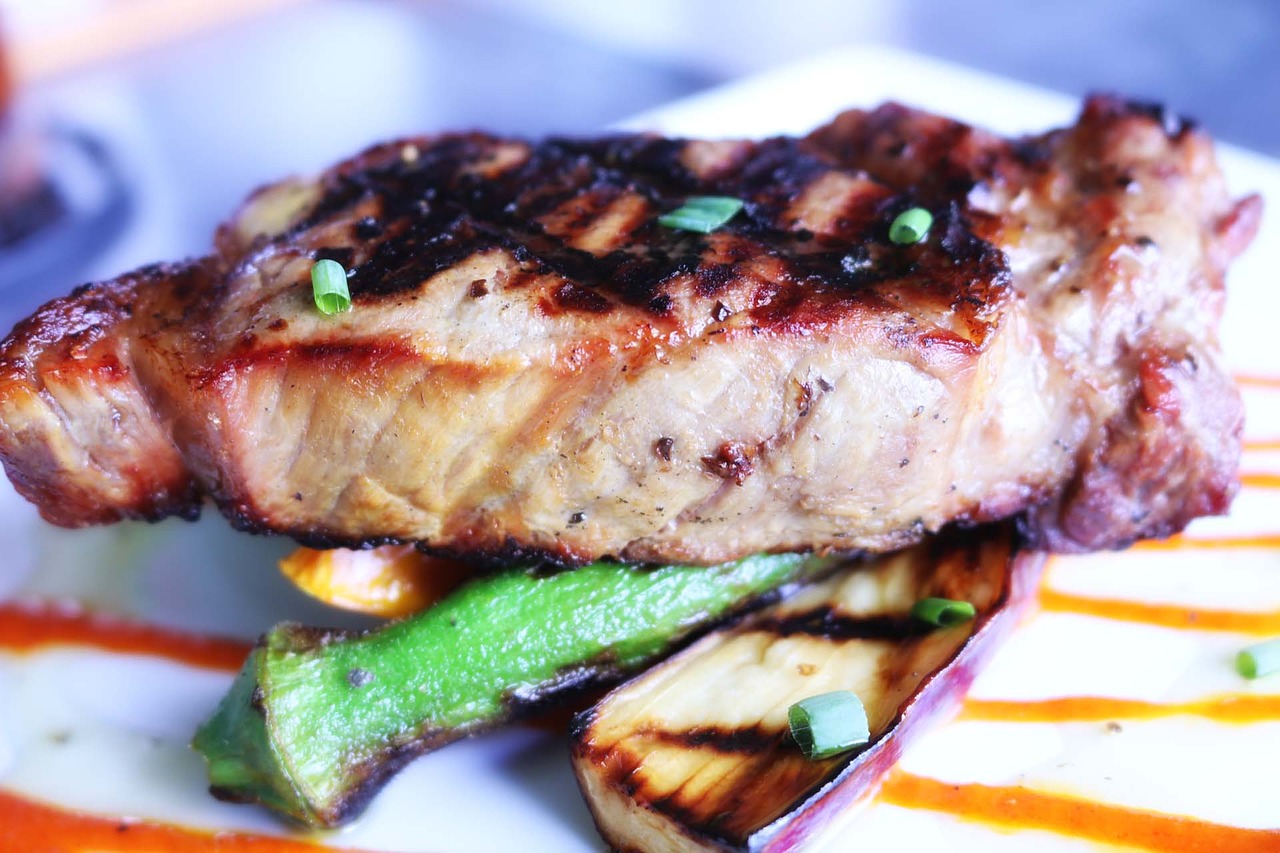
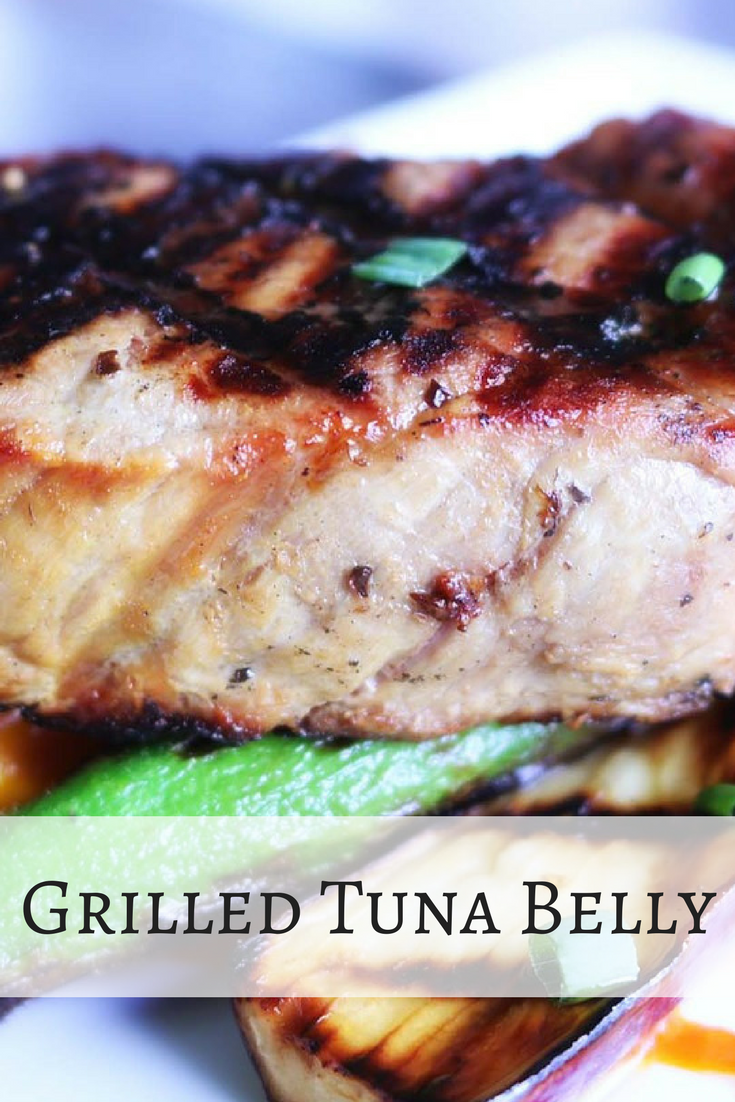
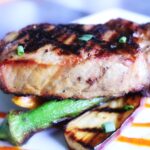
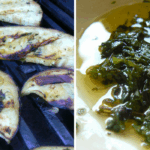
Grilled Tuna Belly is marinated overnight in a sweet and spicy mixture of lemon juice, garlic, chili sauce, oyster sauce, sesame oil and pepper. It is then grilled until medium to medium-well doneness is achieved.
Grilled Tuna Belly is a perfect dish for pulutan (finger food) and goes well with a cold bottle of beer. This also makes a good dish for dinner along with white rice.
The Grilled Tuna Belly is best served with a spicy dip made simply by combining lime, soy sauce and chili. Calamansi is also perfect for the dip. The Grilled Tuna Belly and spicy dip is a match made in heaven.
INGREDIENTS:
- 1 kilo tuna belly, cut into serving portions
- juice of 1 lemon
- 2 cloves garlic, peeled and minced
- ½ cup sweet chili sauce
- 2 tablespoons oyster sauce
- 1 tablespoon sesame oil
- ⅛ teaspoon pepper
INSTRUCTIONS:
- Wash tuna belly and pat dry.
- In a bowl, combine lemon juice, garlic, chili sauce, oyster sauce, sesame oil and pepper. Stir until well-blended.
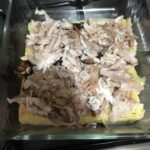
- Add tuna and marinate in the refrigerator overnight, turning fish occasionally in the marinade. Drain tuna, reserving the liquid.
- In a sauce pot, bring marinade to a boil for about 4 to 5 minutes.
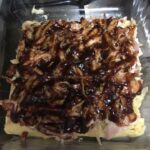
- On lightly-greased grates over hot coals, arrange tuna in a single layer. Grill, basting regularly with marinade, for about 3 to 5 minutes on each side or until fish flakes easily with a fork and slightly caramelized.
- Remove from heat and serve hot.
In case a charcoal grill is not available, you may use a cast iron grill on a stove top. However, you will not get the smoky flavor coming from the charcoals.
Grilled Tuna Belly
Grilled Tuna Belly is marinated overnight in a sweet and spicy mixture of lemon juice, garlic, chili sauce, oyster sauce, sesame oil and pepper. It is then grilled until medium to medium-well doneness is achieved.
- 1 kilo tuna belly (cut into serving portions)
- juice of 1 lemon
- 2 cloves garlic (peeled and minced)
- ½ cup sweet chili sauce
- 2 tbsp oyster sauce
- 1 tbsp sesame oil
- ⅛ pepper
-
Wash tuna belly and pat dry.
-
In a bowl, combine lemon juice, garlic, chili sauce, oyster sauce, sesame oil and pepper. Stir until well-blended.
-
Add tuna and marinate in the refrigerator overnight, turning fish occasionally in the marinade. Drain tuna, reserving the liquid.
-
In a sauce pot, bring marinade to a boil for about 4 to 5 minutes.
-
On lightly-greased grates over hot coals, arrange tuna in a single layer. Grill, basting regularly with marinade, for about 3 to 5 minutes on each side or until fish flakes easily with a fork and slightly caramelized.
-
Remove from heat and serve hot.


.jpg)