Grilled Pompano is a delicious dish that anyone can prepare. It does not require a lot of ingredients and is simple to prepare. Normally, in order to make grilled pompano, you need to rub salt all over the pompano prior to grilling. Filipinos would normally eat grilled pompano with rice.

This grilled pompano recipe was inspired by a video I found on this Facebook Page. While browsing on Facebook, I came across the video below. I figured that this would be a nice (and different!) way to make grilled pompano. Instead of rubbing the fish with salt, curry powder is used. I figured why not try doing it this way and see if there is a difference.
The cook in the video also used Red Sambal sauce. Being unfamiliar with sambal, I had to google this one out and it appears that what he used is Sambal Belacan. Sambal Belacan is a popular spicy Malaysian chili condiment consisting of chilies, belacan (shrimp paste), and lime juice. From Wikipedia:
Sambal belacan
A Malay style sambal. Fresh chilies are pounded together with toasted shrimp paste (belacan) in a stone mortar to which sugar and lime juice are added. Originally, limau kesturi or calamansi lime, is used but since this is scarce outside of Southeast Asia, normal lime is used as a replacement. Tomatoes are optional ingredients. Sometimes, sweet sour mangoes or equivalent local fruits are also used. It can be eaten with cucumbers or ulam (leafy herbs) in a meal of rice and other dishes. A Malaysian-Chinese version is to fry belacan with chili.
Sambal Belacan may be store bought. It is also available in Amazon.

[adinserter block=”10″]
For this recipe, I decided to try to make my own Sambal Belacan. There are many versions of Sambal Belacan that I found on the web. One thing that stood out is that there are three (3) essential ingredients – red chilies, belacan (shrimp paste), and lime juice.

Grilled Pompano
Ingredients:
- 1 large pompano (around 1 kilo), cleaned
- Cooking oil spray
- 1 tablespoon curry powder
Instructions
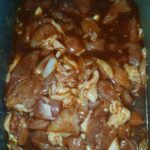
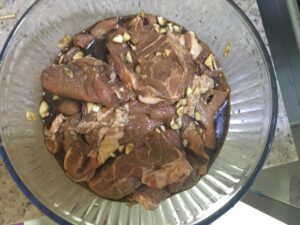
- Rub the curry powder all over the pompano. Let is stay for 30 minutes.
- Heat-up the grill. Spray the cooking oil all over the pompano.
- Grill each side for 7 to 9 minutes.
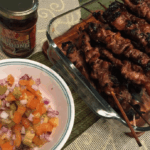
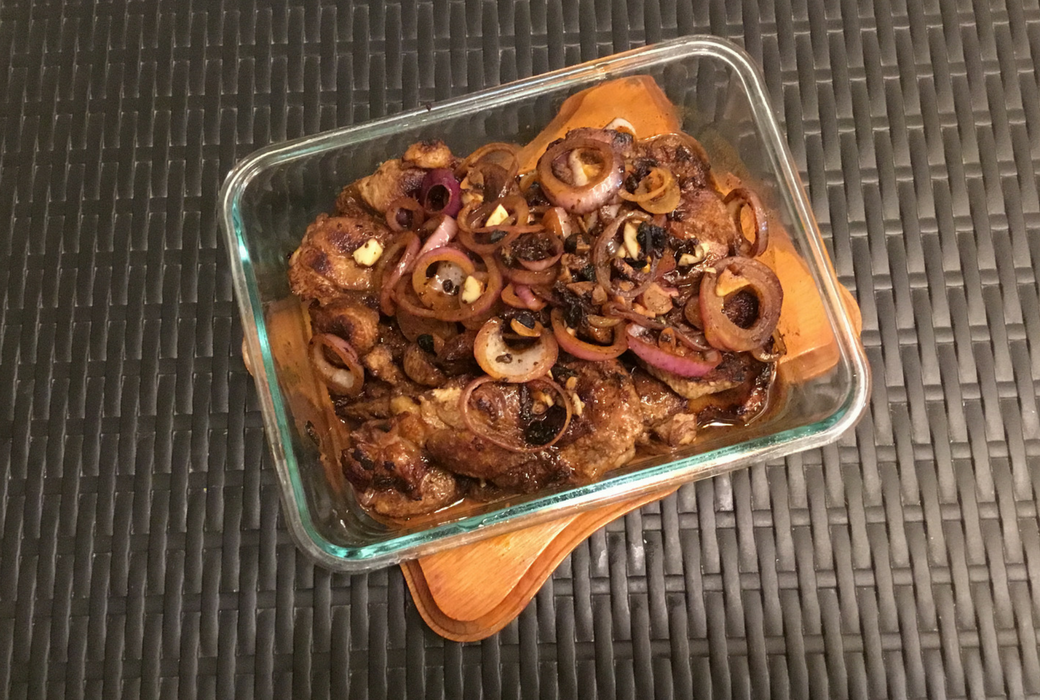
- Transfer to a serving plate. Serve with red sambal.
- Share and enjoy!
For grilling the pompano, I used my Lodge Cast Iron Square Grill Pan and it looks like this:

Grilled Pompano

Grilled Pompano is a delicious dish that anyone can prepare. It does not require a lot of ingredients and is simple to prepare. Normally, in order to make grilled pompano, you need to rub salt all over the pompano prior to grilling. Filipinos would normally eat grilled pompano with rice.
- 1 piece large pompano (around 1 kilo) (cleaned)
- Cooking oil spray
- 1 tbsp curry powder
-
Rub the curry powder all over the pompano. Let is stay for 30 minutes.
- Heat-up the grill. Spray the cooking oil all over the pompano.
- Grill each side for 7 to 9 minutes.
- Transfer to a serving plate. Serve with red sambal.
- Share and enjoy!
Red Sambal
Ingredients:
- 1 tbsp shrimp paste
- 6 red chilies
- a few bird’s eye chilies (optional) for extra spice
- 1 large lime (about 2 to 3 tbsp lime juice)
Instructions:
- Remove seeds from chilies and cut into small pieces.
- Place chilies and shrimp paste in a blender and process until fine.
- Squeeze in the lime juice and stir to mix. Transfer to a small dish.
Red Sambal
- 1 tbsp shrimp paste
- 6 pcs red chilies
- bird’s eye chilies, a few pieces (optional) (for extra spice)
- 1 piece lime (large) (about 2 to 3 tbsp lime juice)
-
Remove seeds from chilies and cut into small pieces.
- Place chilies and shrimp paste in a blender and process until fine.
- Squeeze in the lime juice and stir to mix. Transfer to a small dish.
Other recipes may be found HERE.